You may encounter situations where you need to handle orders outside your regular processes. For instance, you may need to fulfill prizes for customers or send gifts and supplies to your employees. Such orders do not follow the usual path through your OMS, so they are not automatically visible on Delivery Hub. Furthermore, they require less data since they are separate from your sales records.
You can send these shipments using Delivery Hub by creating a custom shipment. This automatically creates the connected orders and fulfillments.
If you need access to the custom shipments feature, contact your administrator or Bringg customer service representative.
Before You Begin
- Confirm you have the Admin or Packer user type.
- Gather the required data:
- Package type
- Product quantity and price (for commercial invoices)
- Recipient details
Create a Custom Shipment
To access the form, go to Shipments > Create Custom Shipment.
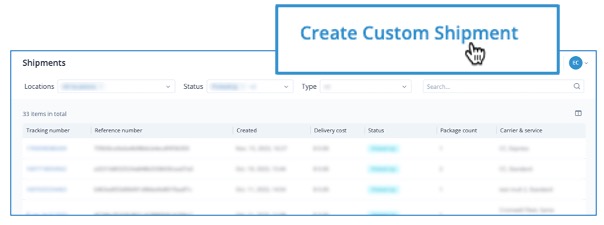
Select Create Custom Shipment
Enter Source IDs
(Optional) Enter Order Source ID, Fulfillment Source ID, and Shipment Source ID.
Entering source IDs lets you update this shipment and the connected order and fulfillment via specific API endpoints. It also allows you to add this order to other systems using the same reference, such as for inventory tracking.
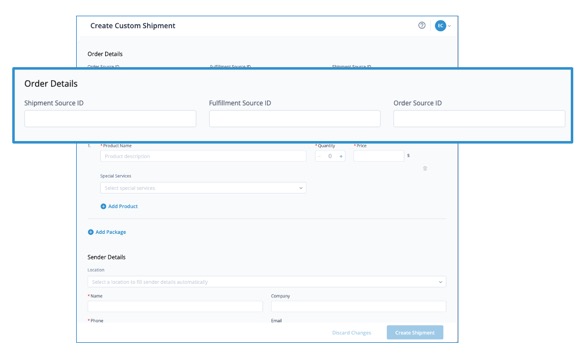
Enter Source IDs
Add Packages and Products
Add packages and specify which products you packed in each by selecting the dropdown list under Package Details to choose a package type. Then, enter the product name, quantity, weight, and price for each product in the package.
You can optionally add a special service such as flammable, fragile, or hazardous to each relevant product by selecting from the Special Services dropdown list.
To add more products, select  Add Product.
Select Package to repeat this process for additional packages in this shipment.
Remove a Package or Product
To remove a product or package, select the trash icon  at the package or product level.
Removing a package removes the products listed beneath it.
Enter Sender and Recipient Details
Enter the sender and recipient's details. To quickly add the sender details, you can select a shipping location from the Location dropdown menu to automatically fill the details in this section.
Enter Billing Details
To automatically use the sender or recipient details as the Billing address for this shipment, select the radio button next to Same as recipient or Same as sender. If the billing address does not match the recipient or sender address, select Other to expand the form and enter the billing address.

Select an existing address or enter a new billing address
Book Your Shipment
Once you have entered all required information, select the Direct or PUDO fulfillment method. Direct shipments are sent directly to the recipient's address, and PUDO shipments are sent to a pickup/dropoff (PUDO) location where your recipient can pick up their package at their convenience.
Ship Direct to Recipient
Step 1 Select the Direct fulllfillment method.
Step 2 Select Create Shipment to save this shipment and open the carrier selection modal.
Ship to a PUDO Location
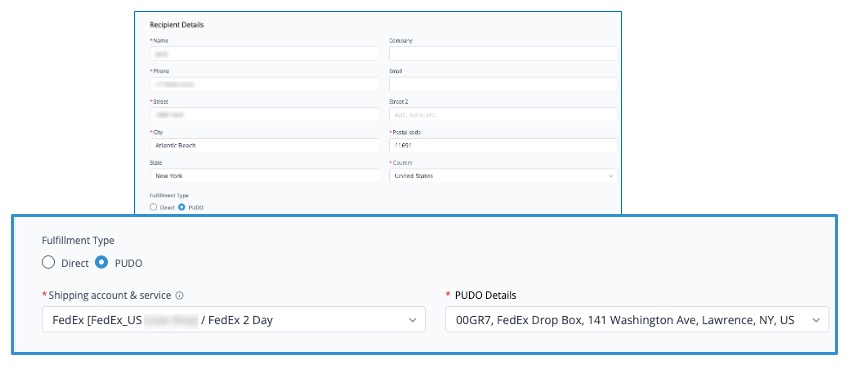
Select a recommended PUDO location
Step 1 Select the PUDO fulfillment type.
Step 2 Select a carrier and service from the dropdown list under Account and Service.
Step 3 Select from the list of PUDO locations that Delivery Hub recommends based on your recipient's address.