Configure Delivery Terms to specify when specific carriers or your Own Fleet drivers are viable options for carrying out orders under specific conditions. These terms help filter out carriers that do not meet certain criteria, ensuring that only qualified carriers are considered for each delivery. For example, you can specify the service plans, areas, and order types a carrier supports and the maximum weight they can carry.

You can create as many terms as you need for each carrier to describe all circumstances when you would use that provider. Each term can contain multiple conditions.
Bringg evaluates carriers for each order. It qualifies the carrier if at least one of the terms are true. But within a single term, all its conditions must be true.

Before You Begin
Confirm you have the Admin user type.
Find and connect to carriers for each of your locations and fulfillment offerings using the Carrier Catalog.
Check that you have signed contracts and completed integration with each carrier.
Understand under which conditions Bringg should consider a carrier as a viable provider for each order. For example, after analyzing report data showing a carrier's strengths and weaknesses, you may want to tweak their delivery terms to serve only in cases where their performance is strongest.
Access Delivery Terms
Select Delivery Hub > My Carriers from the navigation bar, select the carrier that you want to configure, then select the Delivery Terms tab.
Add a Delivery Term
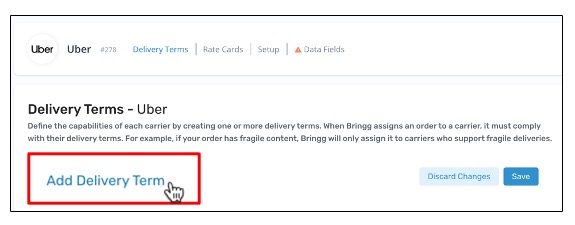
Step 1: Select Add Delivery Term to define a situation when you want to use this carrier.
Step 2: Select the pencil icon  to change the title of a delivery term.
We recommend giving a meaningful title to each term to make it easily identifiable, like City Center lightweight. By default, each new term is called Delivery Term.
Step 3: To define the conditions that must be true for a carrier to meet a delivery term, Add Attribute  and choose the relevant fields from the list.
Attribute | Filters by |
|---|---|
Applicable hour | Designated hours.
|
Flammable | The carrier’s ability (or inability) to carry flammable items. |
Fragile | The carrier’s ability (or inability) to carry fragile items. |
Max weight | The weight of the heaviest item in the order. For example, you can use this attribute to assign orders with a max weight over a certain amount only to carriers that have equipment that enables them to carry particularly heavy loads. |
Service plan | Service plans, such as Express or Over-the-threshold. |
Order type | Type, such as Delivery or Service. |
Team | Team assignment |
Total price | Total order value |
First Waypoint or Last Waypoint | Specific location attributes:
|
Step 4: Define the terms of each attribute. Depending on the field type, search and choose values from a dropdown list (such as order types or service plans) or select an operator and then enter the required value.
Operators define an attribute as true if the value of the field:
Is, Is not, or Is at least one of the values that you select from the dropdown list
Is, for example, equal to, less than, or in range of the values you enter in the number field
Is, Is not, Contains, or Does not contain the values you enter in the text field.
Step 5: Select Save to finalize your changes.
Manage Delivery Terms
You can update existing delivery terms at any time. Once you make your changes, be sure to select Save to finalize them.
To... | Do this... |
|---|---|
Add further conditions inside this delivery term | Select Add Attribute |
Prevent the assignment of orders that do not match a delivery term | Select the checkbox next to Set as hard constraint. |
Temporarily deactivate an entire delivery term | Select the toggle Use this toggle to fine-tune your delivery strategy. For example, to remove a condition on weekends, you can independently deactivate and activate it whenever necessary. |
Remove a condition within a single delivery term | Select Delete |
Remove an entire delivery term (with all its conditions) | Select Delete |
 to deactivate or activate a delivery term.
 at the level of the condition within the term.
 at the level of the entire delivery term.